You can create custom User Sources to extend your other data in Easy Insight, as well as build completely custom data sets through adding and editing rows right through reports and dashboards, as well as uploading Excel and CSV files, and publishing data through XML and JSON APIs.
There are currently three ways to create a user source:
On the Connections page, scroll down to the User connection and click on it. Give the data source name. You can choose whether or not to include a primary key field--if you're going to edit this data source directly from Easy Insight, you'll need to have that enabled, while if you're just going to be uploading CSV/Excel data, you can leave this off to have faster performance on uploading large data sets. Click Create, and your source is created. Next, you can configure fields on the data source.
Click into the data source you wish to convert. Click on Configure the Data Source -> All Configuration Options. Click on Data Source Actions. Click on "Convert to User Source".
Next, you need to choose whether to create a new primary key field or to use an existing field as the primary key. If you have a unique row identifier as is, you can reuse that field by choosing it as the existing field. Otherwise, you'll want to create a new primary key field. Click on "Convert" and the source will be converted over to a User Source.
Click into the data source you wish to add the user source into. Click on Configure the Data Source -> All Configuration Options. Click on Data Source Actions. Click on "Add a User Source".
First, choose the field you wish to join to. For example, if you're adding a Task Estimate to Tasks, you'll want to join to Task ID if such a field is present, or Task Name if not. In general, you'll want to use ID fields where possible in order to ensure that when something is renamed, the join doesn't break.
Next, if you did choose an ID field, go ahead and choose a label field. With our earlier example, you'd choose Task Name for the Task ID field. If you used a name field above, just check the No Label Field option.
Give the new data source a name in the text input.
From here, you'll be prompted to add one field to the data source to get started with. Choose Measure, Grouping, or Date, then give the new field a name. Click on Create and your new source will be set up. You'll be redirected to an automatically generated report which allows you to fill in values for your new field.
From your User source, click on "Row Configuration" in the upper right. This link takes you to the Row Configuration screen:
The Row Configuration screen has sections for adding and editing fields, defining relationships to other data sources, controlling what's shown in the row edit window, configuring imports by CSV or Excel, and backing up or restoring data.
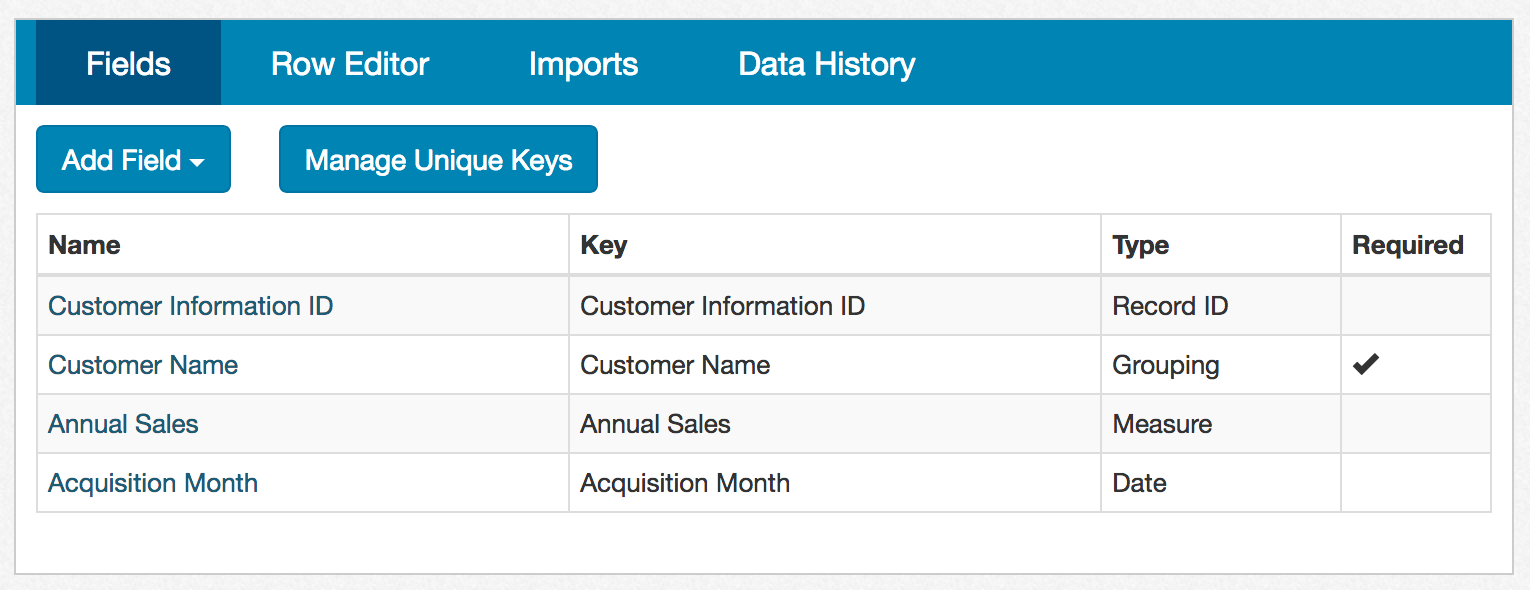
The Fields section allows you to add additional fields to the data source through the Add Field dropdown. You can click on the Name of any added field to configure details about the field.
The Relationships section will only appear if the data source is part of a combined data source. This section allows you to define foreign keys to other data sources.
The Row Editor section allows you to customize which fields are shown in the field edit window. If you have a large number of fields, this can be useful for keeping the edit window more manageable.
The Imports section allows you to manage importing Excel or CSV data. For example, if you upload new data every month, you could create a custom import based on the Month field. When you upload a new file, it will replace any existing data matching the upload's month, making it easy to reliable update with new data instead of the replace/append model used in the existing flat file data sources.
The Data History section allows you to take a snapshot of your data or restore to a previous snapshot. Your account is limited to five snapshots.
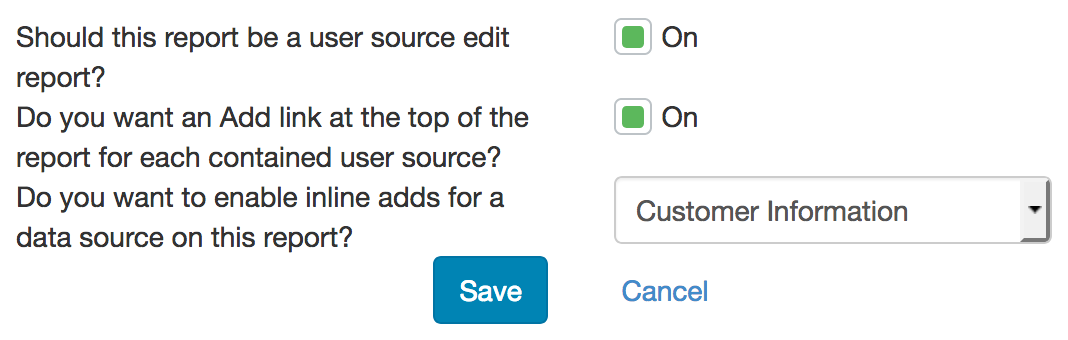
To edit the data in a user data source through a report, create a new report or open an existing list report in the editor. You can create the report on the individual user source or a combined data source containing the user source. Click on Configuration -> User Source Report Config. Toggle "Should this report be a user source edit report?" in order to turn on value edits.
Once enabled, you can click on the cells in the list report to edit values. If it's a grouping or measure, you can just start typing in a cell to start changing the value. Otherwise, you can double click or press enter on a cell to change the value. If the cell doesn't match back to a user source, you can still navigate over it using the cursor keys, clicking, or tabbing, but you won't be able to edit the value.

You can further customize the edit behavior of a cell by clicking on the field in the Report Fields section and doing Edit Field Properties. Go to "Add links to URLs or other reports" and change the type to "User Record Edit". Once configured, you can add options to pull up the Edit Window, include a Delete option, include a Copy option, and control the target data source in the case of a foreign key.
If you need to define a custom import, you can click on Add Import from the Row Configuration -> Imports page. You'll need to at least one field to the import. For example, if you want to add or replace data based on Customer Name, you would choose the Customer Name field. Give your import a name and click on Save.
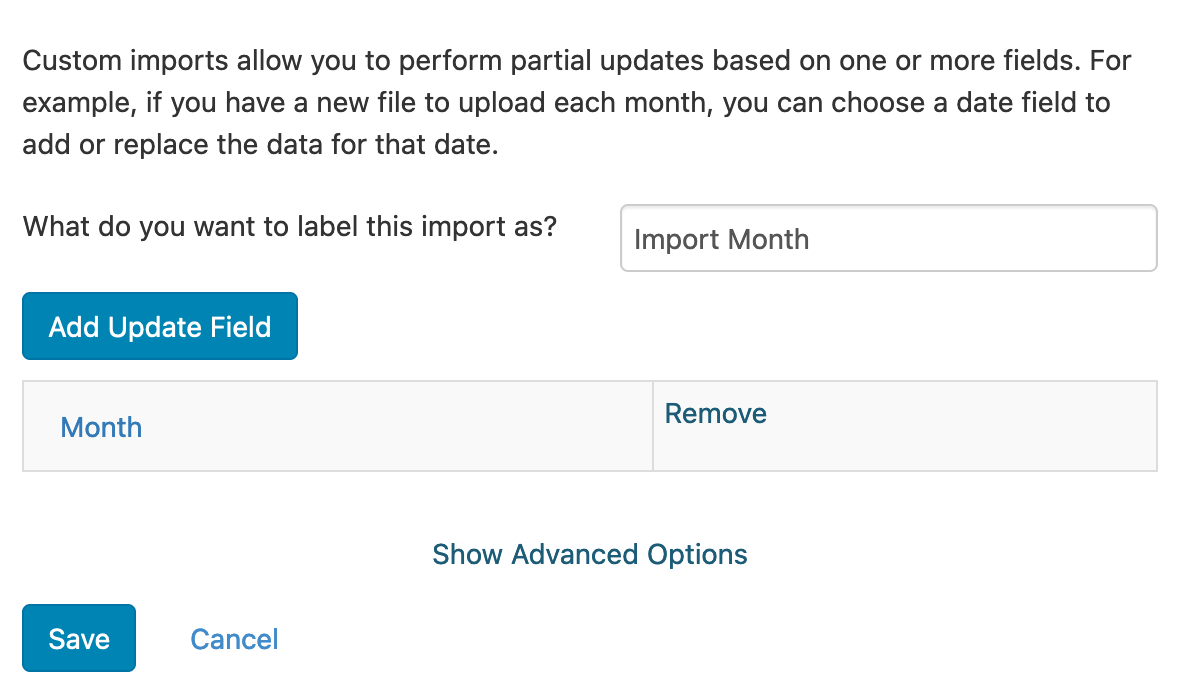
You can use groupings and dates for your custom imports. With the example shown of Customer Name, when you upload the spreadsheet or CSV file, it will either add or update rows for each value of Customer Name found in the file.
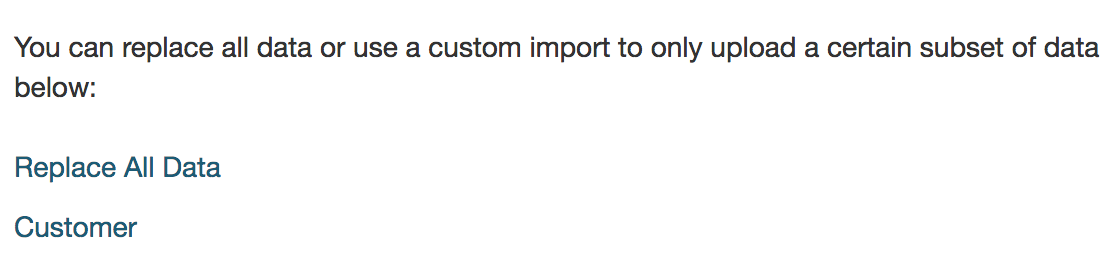
You can import data by clicking on the Import New Data button found on the data source page (in the same place as Refresh the Data Source would normally be found). After clicking on Import Data, you can either do a Replace All Data or use an import defined through the steps above.
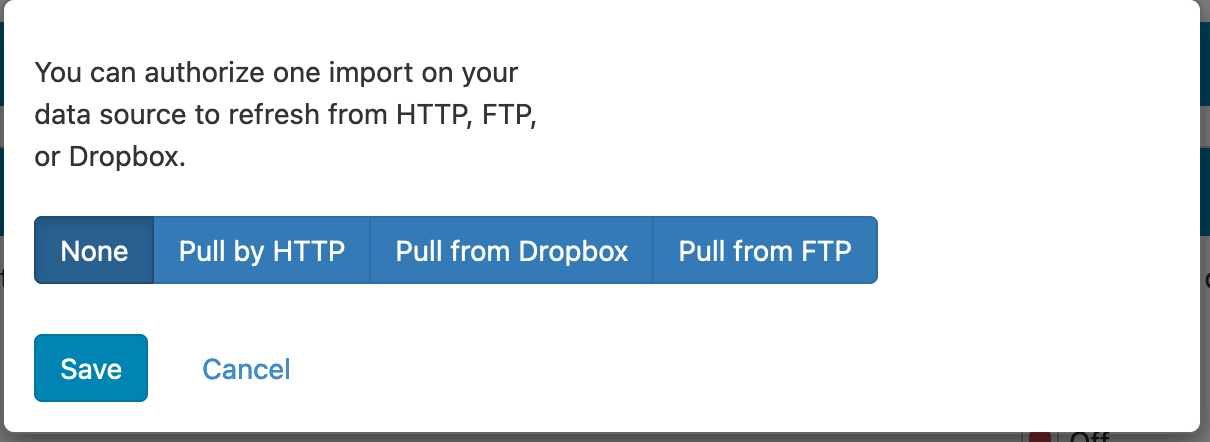
Once you've created an import, you can also configure it for scheduled refreshes. You can retrieve from HTTP, Dropbox, or FTP:
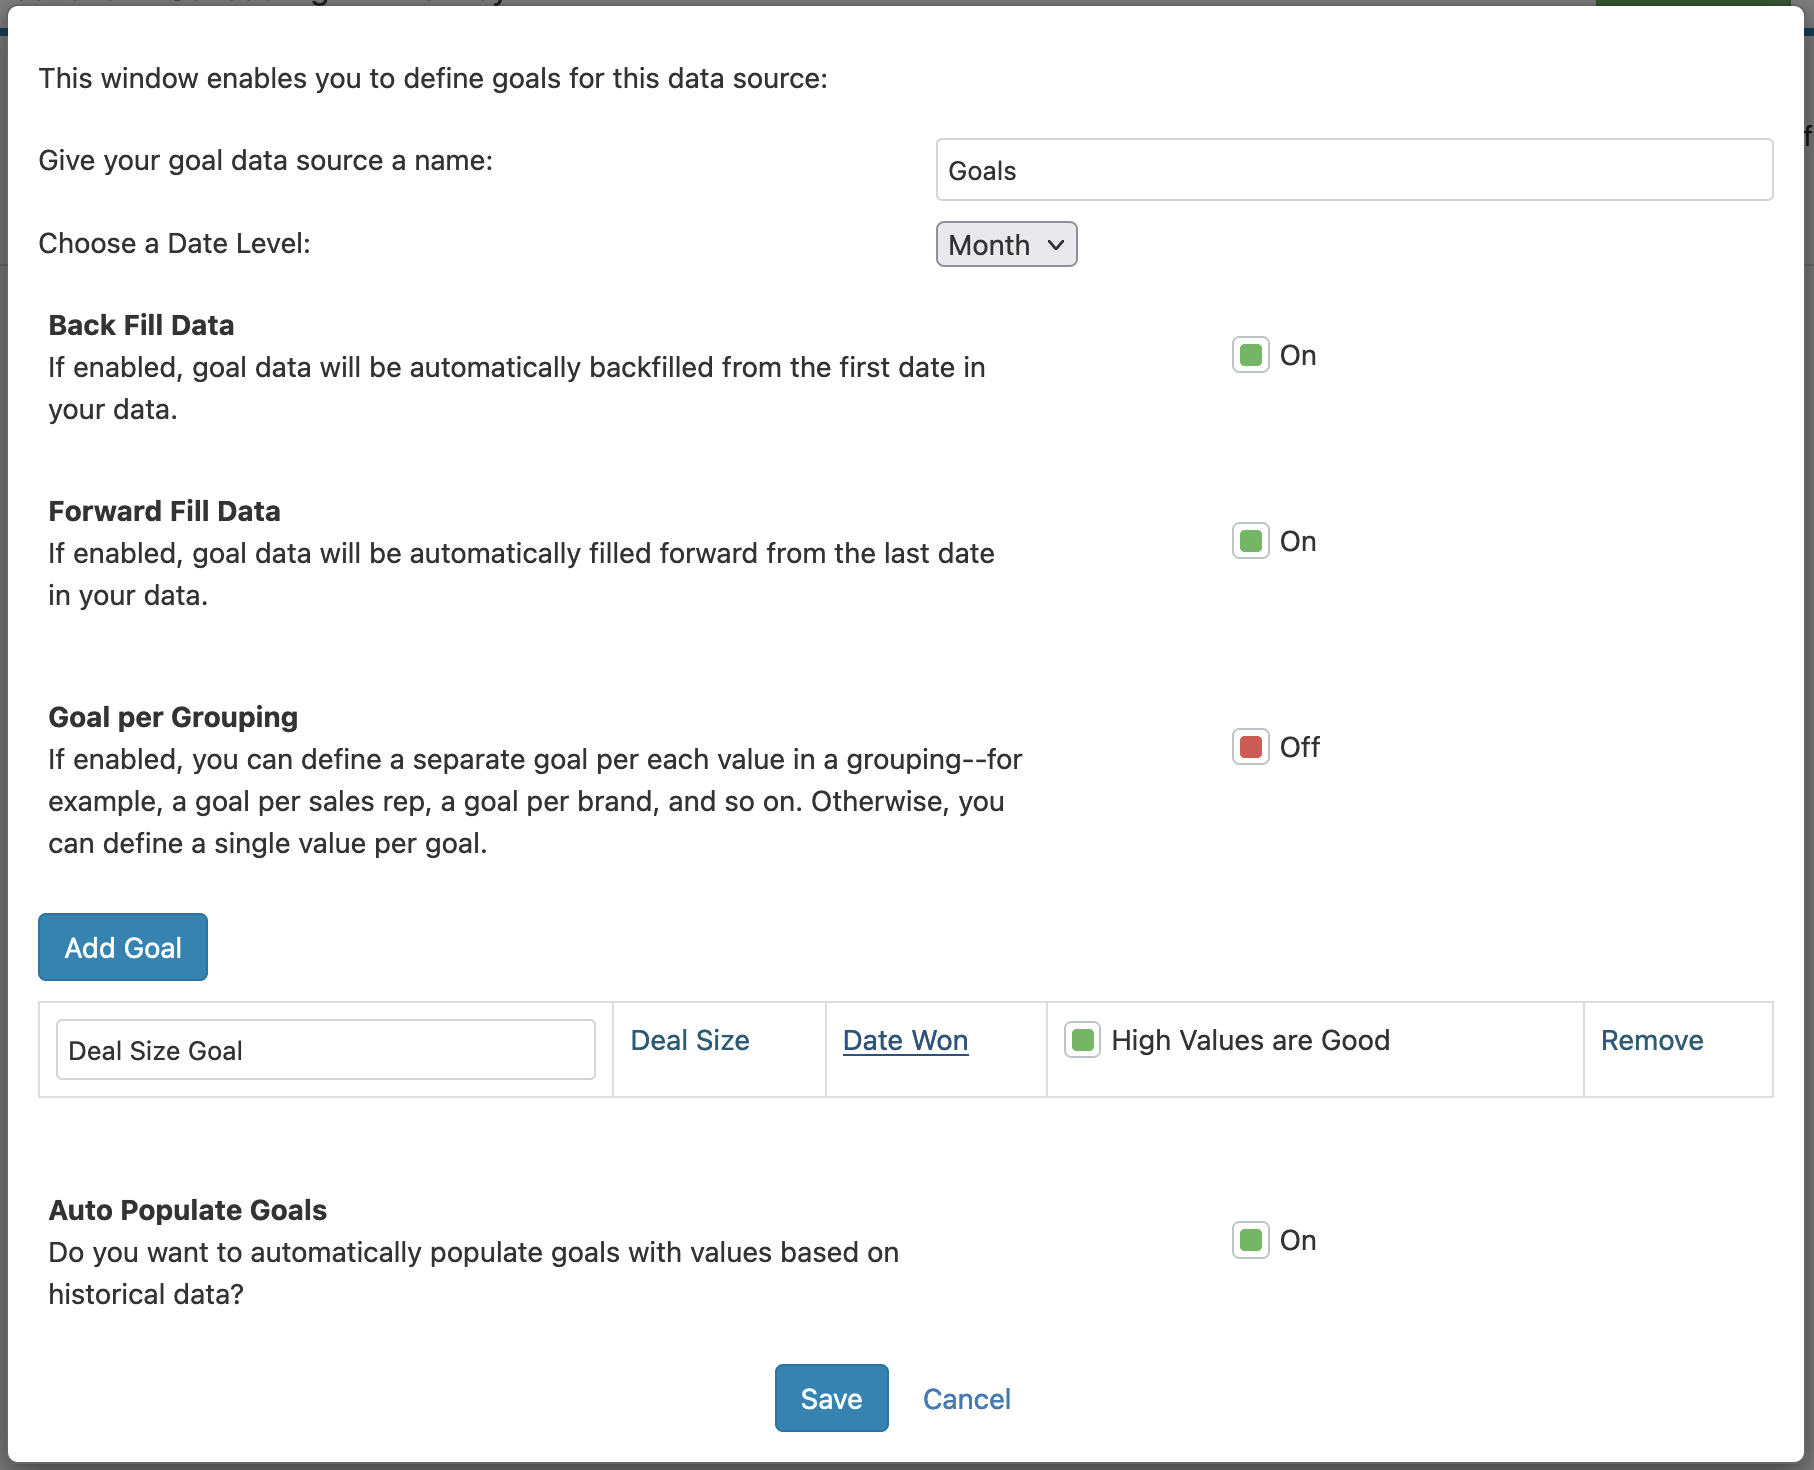
You can choose to back fill data and/or forward fill data for your goals. If enabled, Easy Insight will take the earliest date with data and backfill from there, and take the latest data with data and forward fill from there.
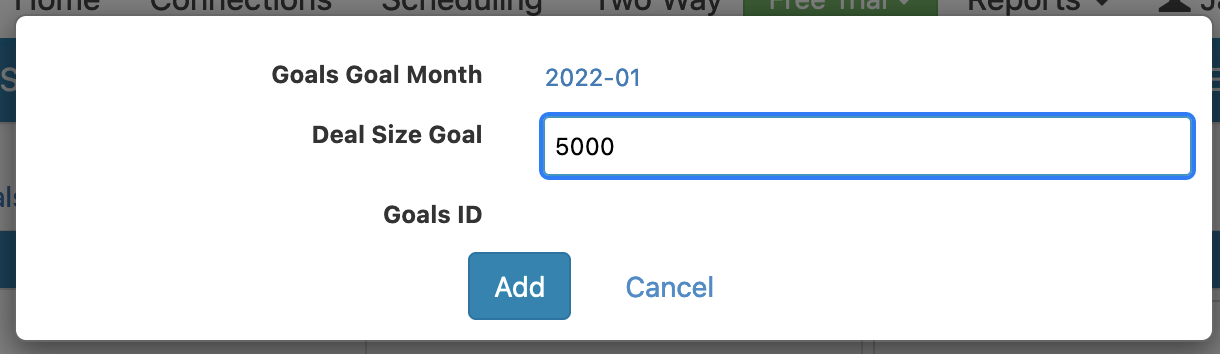
Finally, you can choose to automatically populate goals based on historical data. Easy Insight will use the last three months of data to populate goals. Once configured, click Save and you'll be redirected to a two way report for editing the goal values:
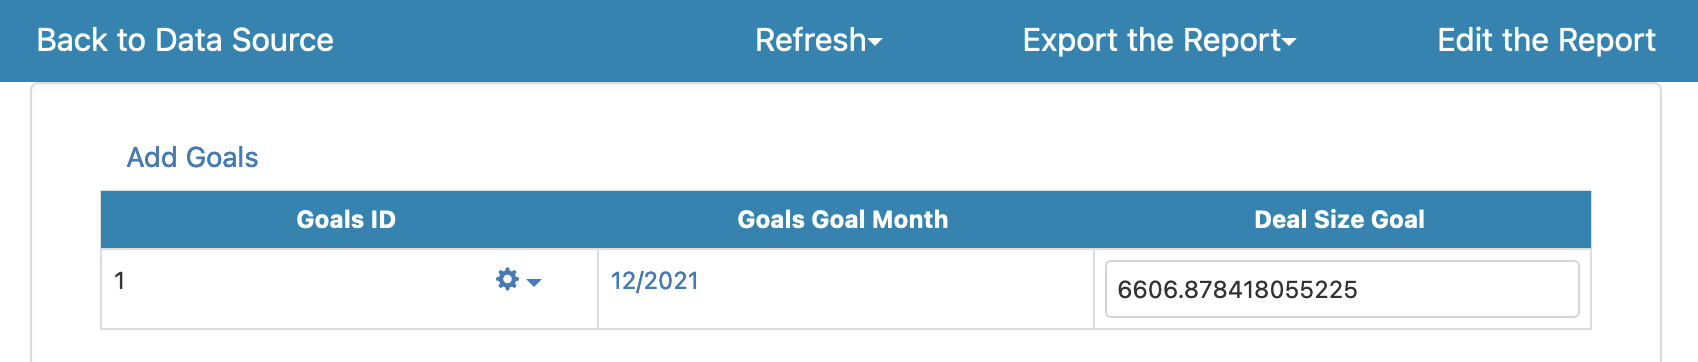
This report will only show the configured values, not any back or forward fill data. You can click on 'Add Goals' to add data for more months: