You can set up user access to a dashboard through the Distribute Dashboard page. You can access the Distribute Dashboard page by clicking on Export -> Distribute the Dashboard from the Dashboard end user view.
If you want each user to only see his or her own data on the dashboard, you can quickly set up data level security from this page. If you don't have any personas set up yet, you can start by clicking on the "Set Up Data Level Security" link. You'll need to choose the field you wish to filter on per user--for example, you might use Sales Rep as the field to limit data to each sales rep.
After choosing a field, you'll see that the table updates to show the Persona and Sales Rep (or whatever field you chose) for each user.
Next, you can add and configure a user to only see her own data on the dashboard by clicking on the "Add Viewer" link.
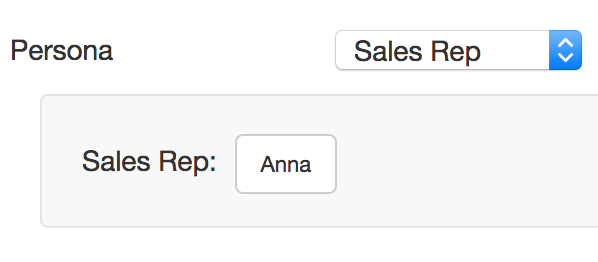
From the selected persona, populate the filter with the appropriate value. In this example, we're filtering it down so that Anna will only see her own sales data:
After creating the user, you'll return to the Distribute Dashboard page. You'll now see the new user is in the table with her persona and Sales Rep set:
To further ease distribution, you can set it up so that the user can access this dashboard through a direct link without having to log into Easy Insight by clicking on the "Allow Users to Access by URL Without Login" link. Upon clicking this link, you'll see that in the table below, the Dashboard URL column is added containing a user specific link to the dashboard. When the user accesses the dashboard by this link, she will only see the data matching the Sales Rep filter set on her user profile.