You can extend your inventory management system by adding in data from your marketing, CRM, e-commerce, shipping, and accounting systems to get a full picture of your business.
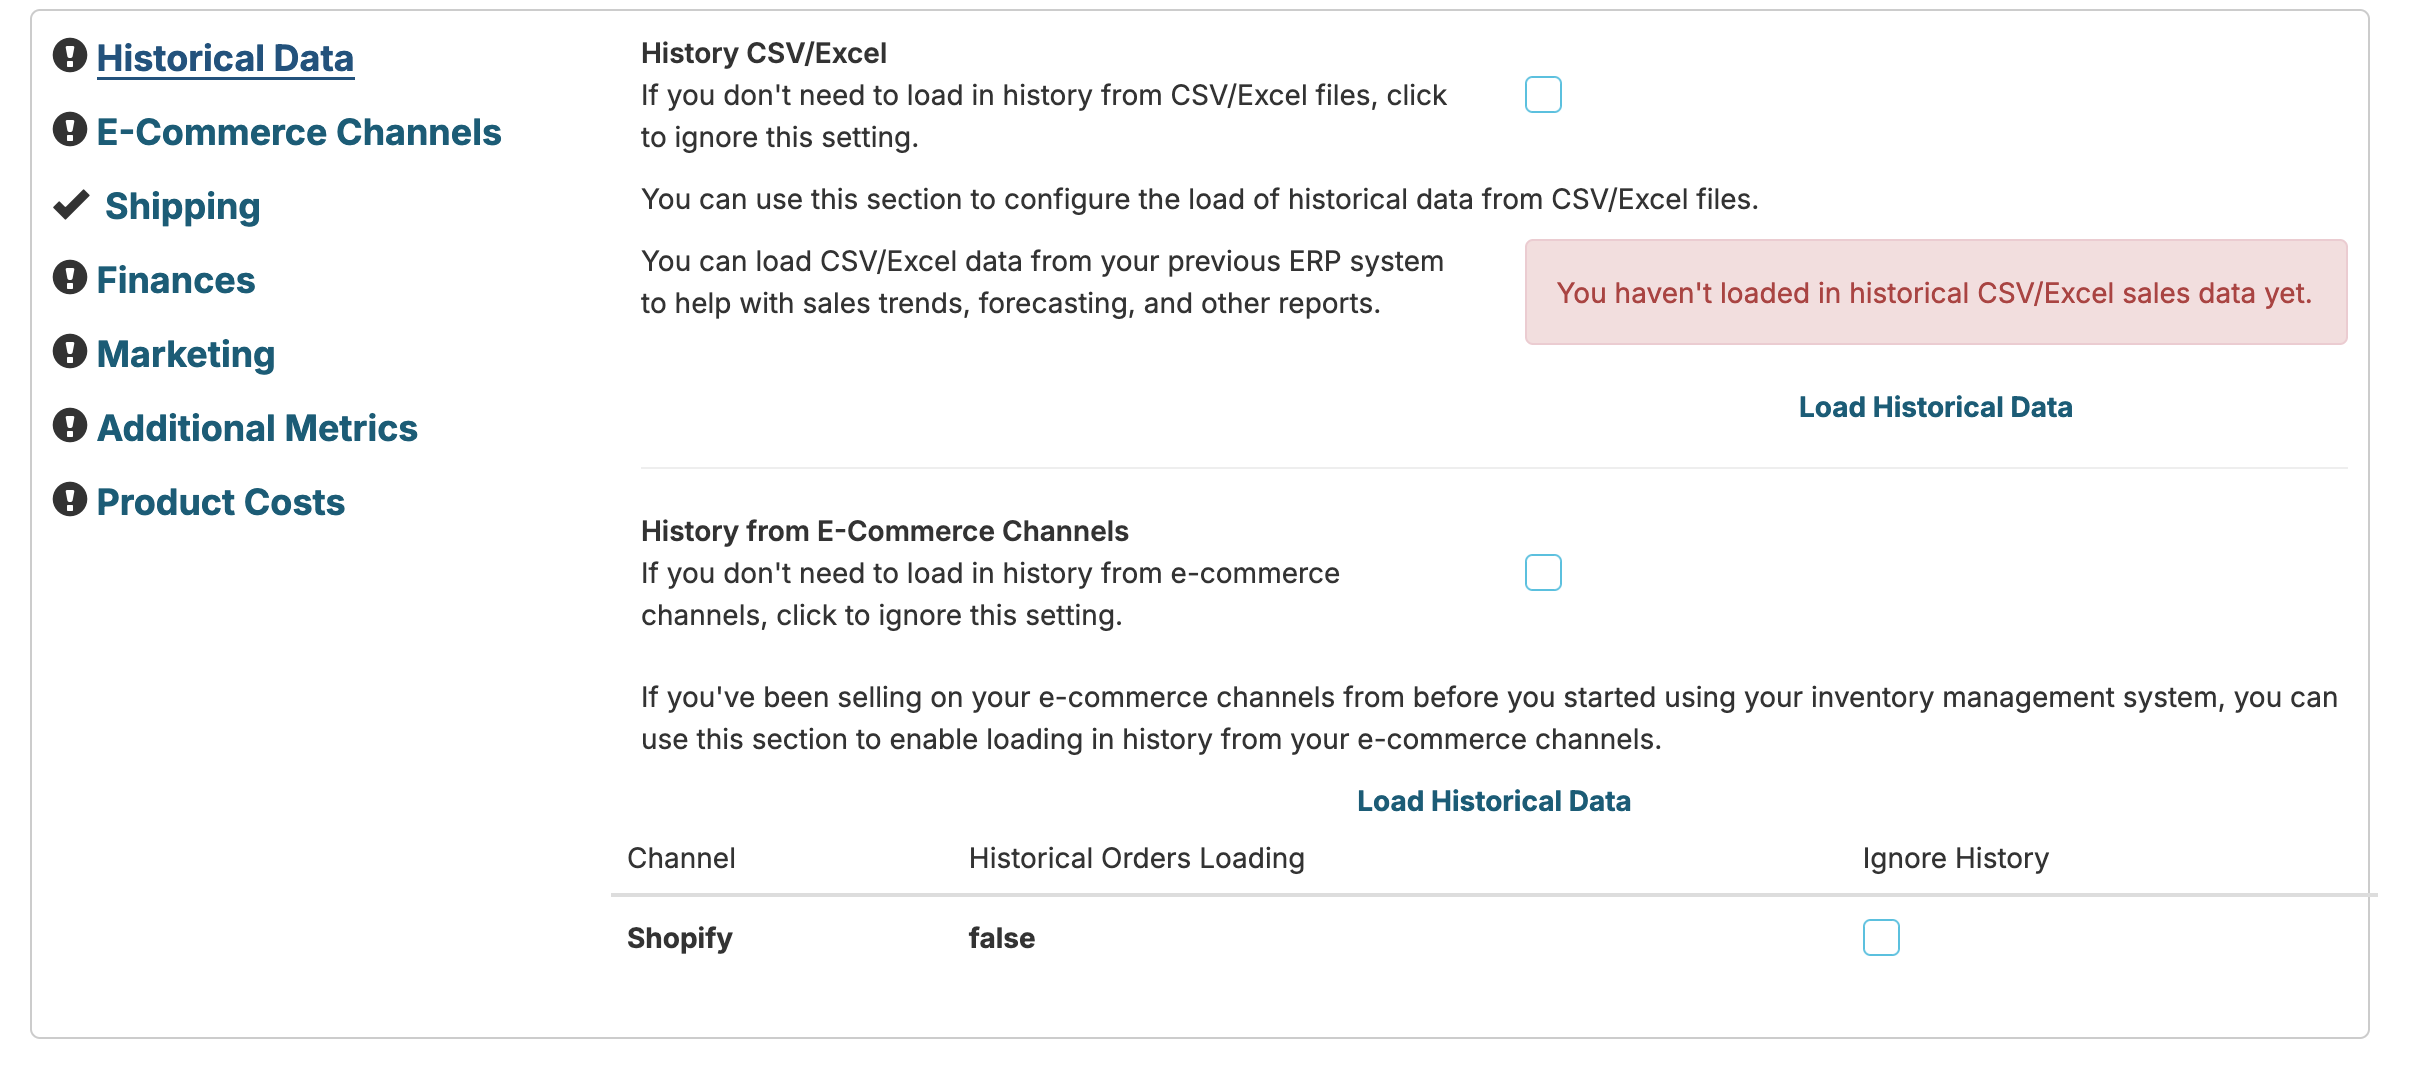
Once you've connected Easy Insight to your inventory system, any subsequent connections to marketing, CRM, e-commerce, shipping, or accounting systems will automatically attempt to match the data from those systems back to your source data. If you go to the Inventory tab of your inventory data source, you'll see the available integrations with a checkbox next to the section if it's been integrated:
If a section hasn't been automatically integrated, you can click on the section to go into a page and run the integration yourself.
Once you connect data from Google Analytics, Meta, or Amazon Ads, your ad and visit data will come across into the Ad and Visits folder on your data source:
Once you integrate your CRM data, you'll see fields from your CRM show up under the 'CRM Contacts for (your CRM data source name)' folder in your inventory system.
By default, this folder contains a link to the contact in your CRM. If you want to add additional fields, you can go to your CRM data source, find the CRM Contacts for (your CRM data source name) report in the report list, and edit the report. For example, if you wanted to add the number of activities to a contact to pull that back over in your reports in the inventory system, you could choose the measure for activity count from your CRM and add it to the report.
After saving, go back to your inventory data source and you'll see that the number of activities is now available as a field.
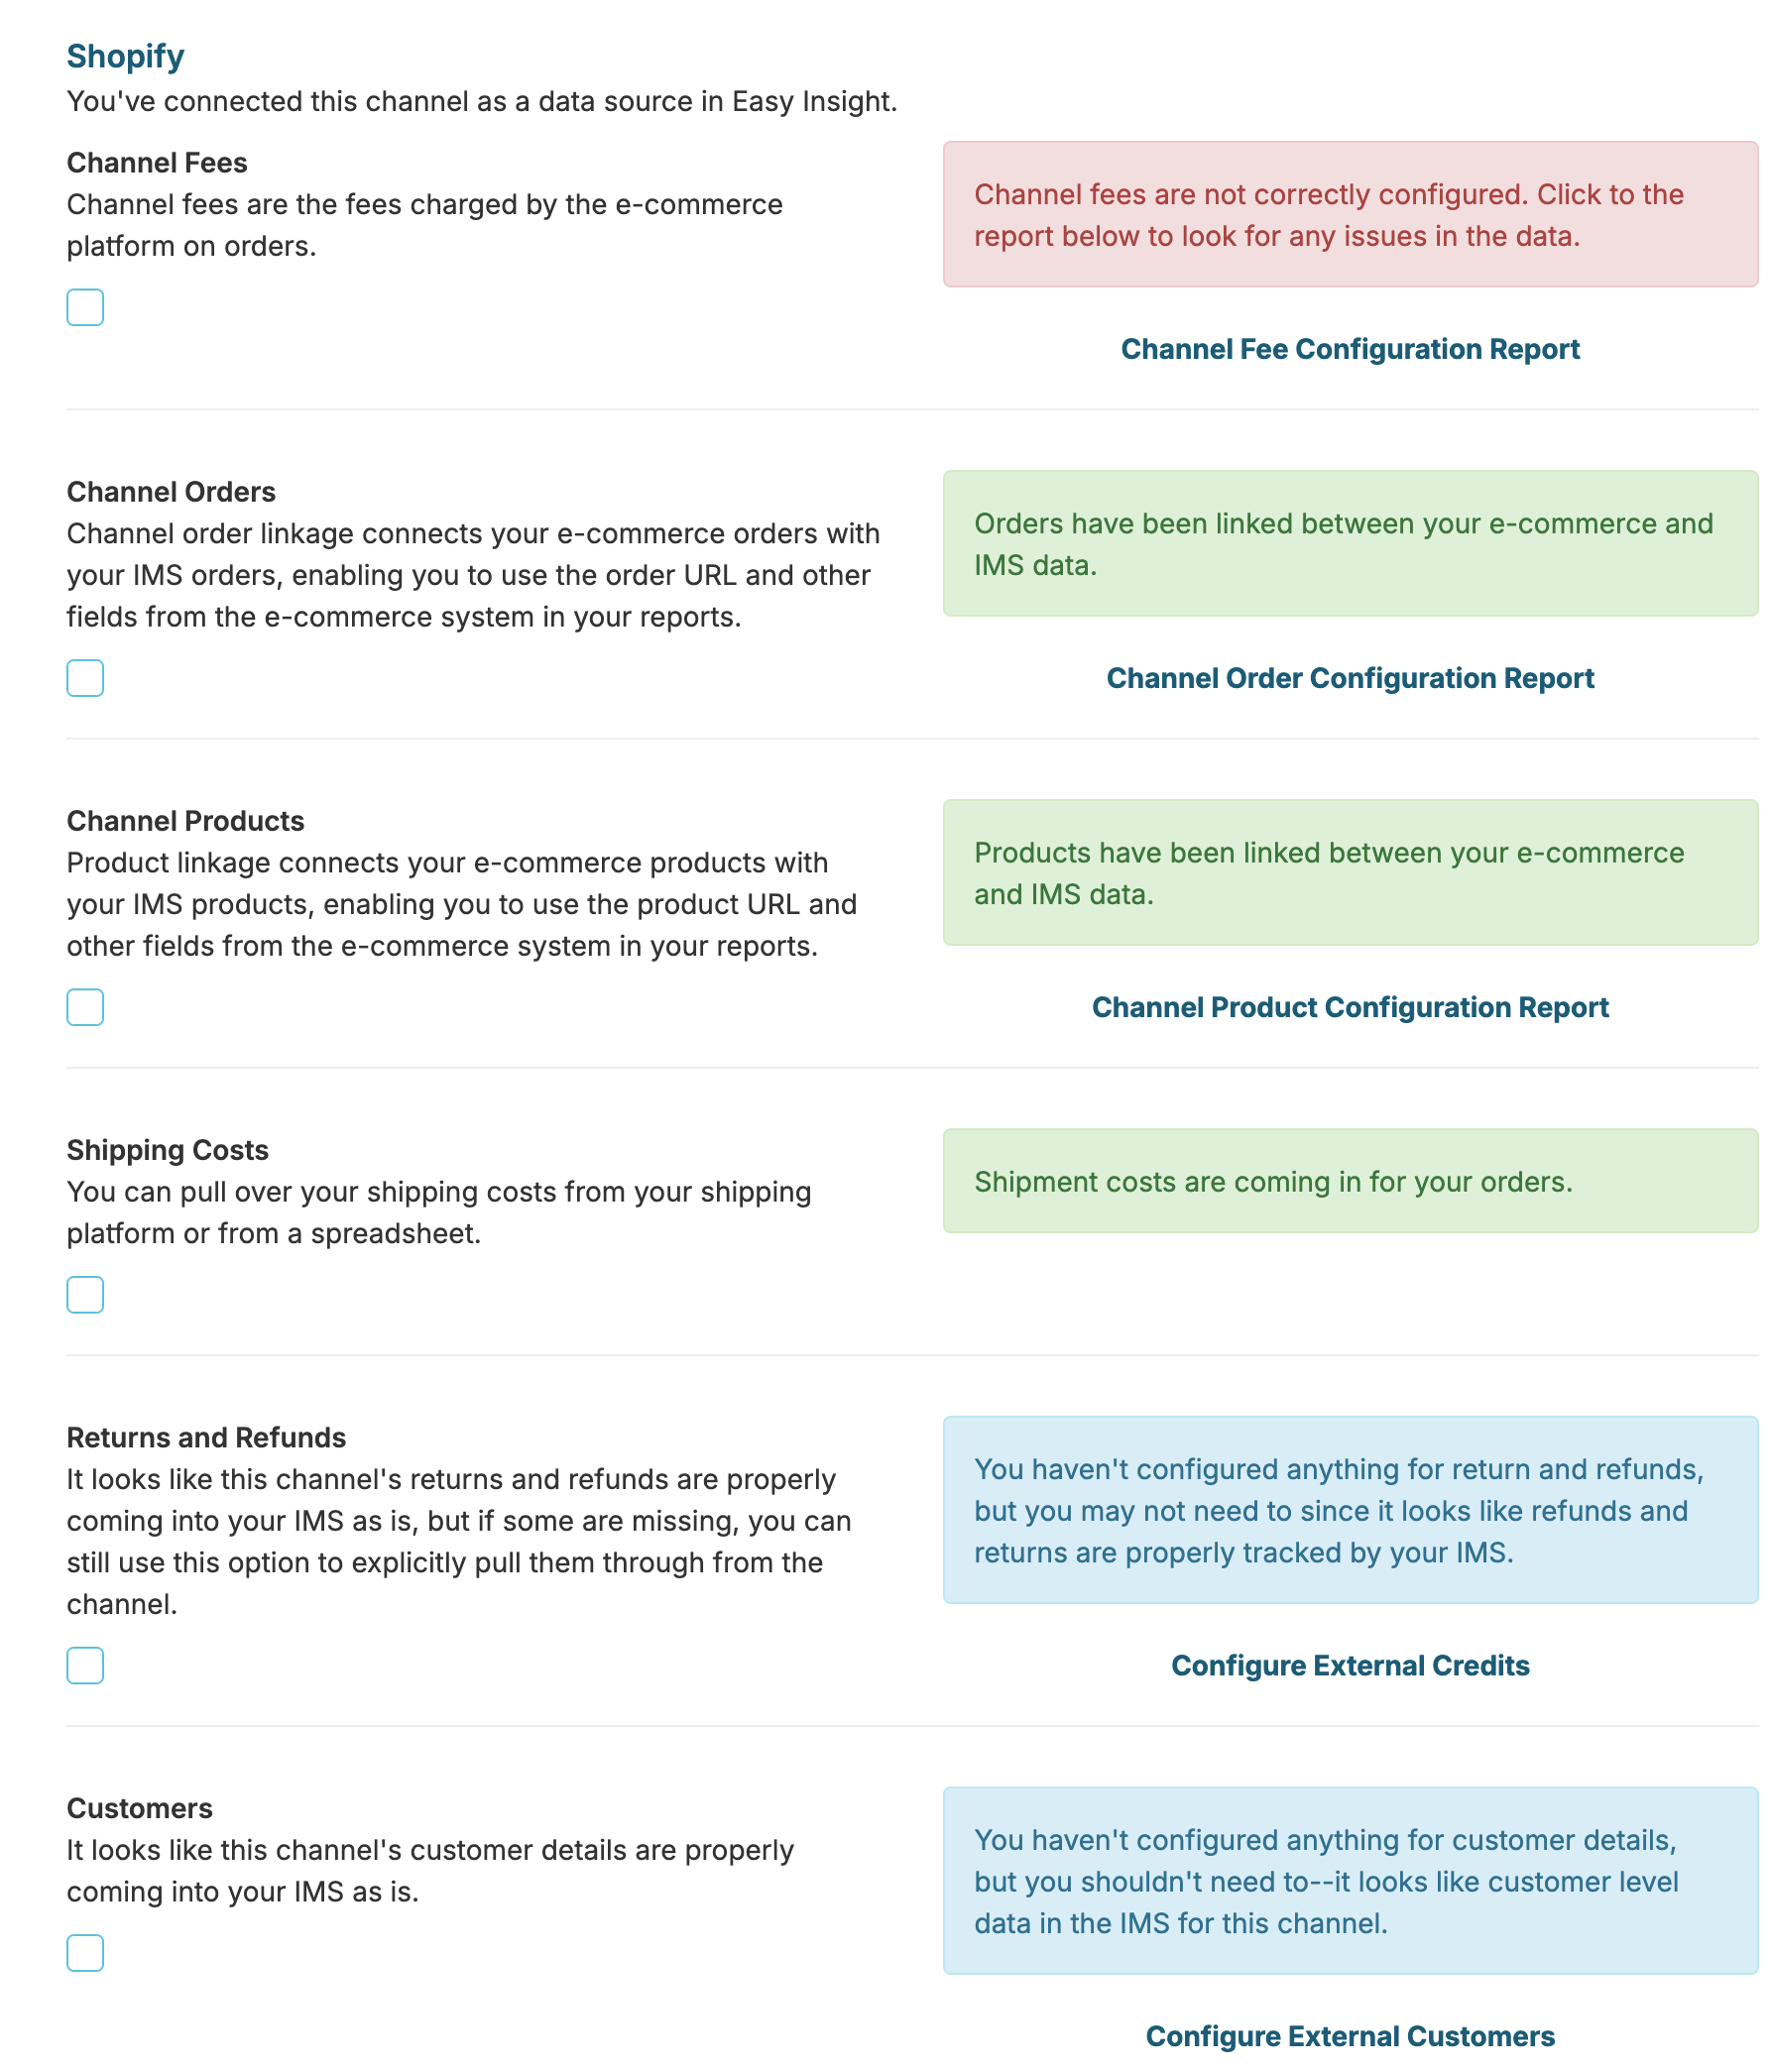
Once you integrate your e-commerce channels, there are three main sections that come across:
Channel Fees represent how much it costs to sell on a platform. For example, for Amazon, you'll have the commission paid to Amazon, FBA fulfillment fees if selling FBA, and any other fees charged as part of the order.
Products are linked through the 'Inventory Levels for (your data source name)' folder. The specific fields will vary a bit depending on your e-commerce system, but in general, you'll get the URL of the product in the channel, the inventory quantity showing in the channel, and the product price on the channel. For Amazon, the ASIN of the product will come across in this folder:
You can add additional fields for reporting by going to the e-commerce data source, editing the 'Inventory Levels for (your data source name)' report and adding the fields you want to pull across:
Orders are linked through the 'Channel Orders for (your data source name)' folder. The specific fields will vary a bit depending on your e-commerce system, but in general, you'll get the URL of the order in the channel, then a variety of connection specific fields. For example, Shopify will include the order tags, the order cancellation reason if one is there, and the associated discount codes. Amazon will include whether the order was FBA or FBM:
You can add additional fields for reporting by going to the e-commerce data source, editing the 'Channel Orders for (your data source name)' report and adding the fields you want to pull across:
Once you integrate your shipping system, shipping cost will come across into your inventory data source. This shipping cost will flow into the Shipping Cost field in the Revenue and COGS Details folder of your data source:
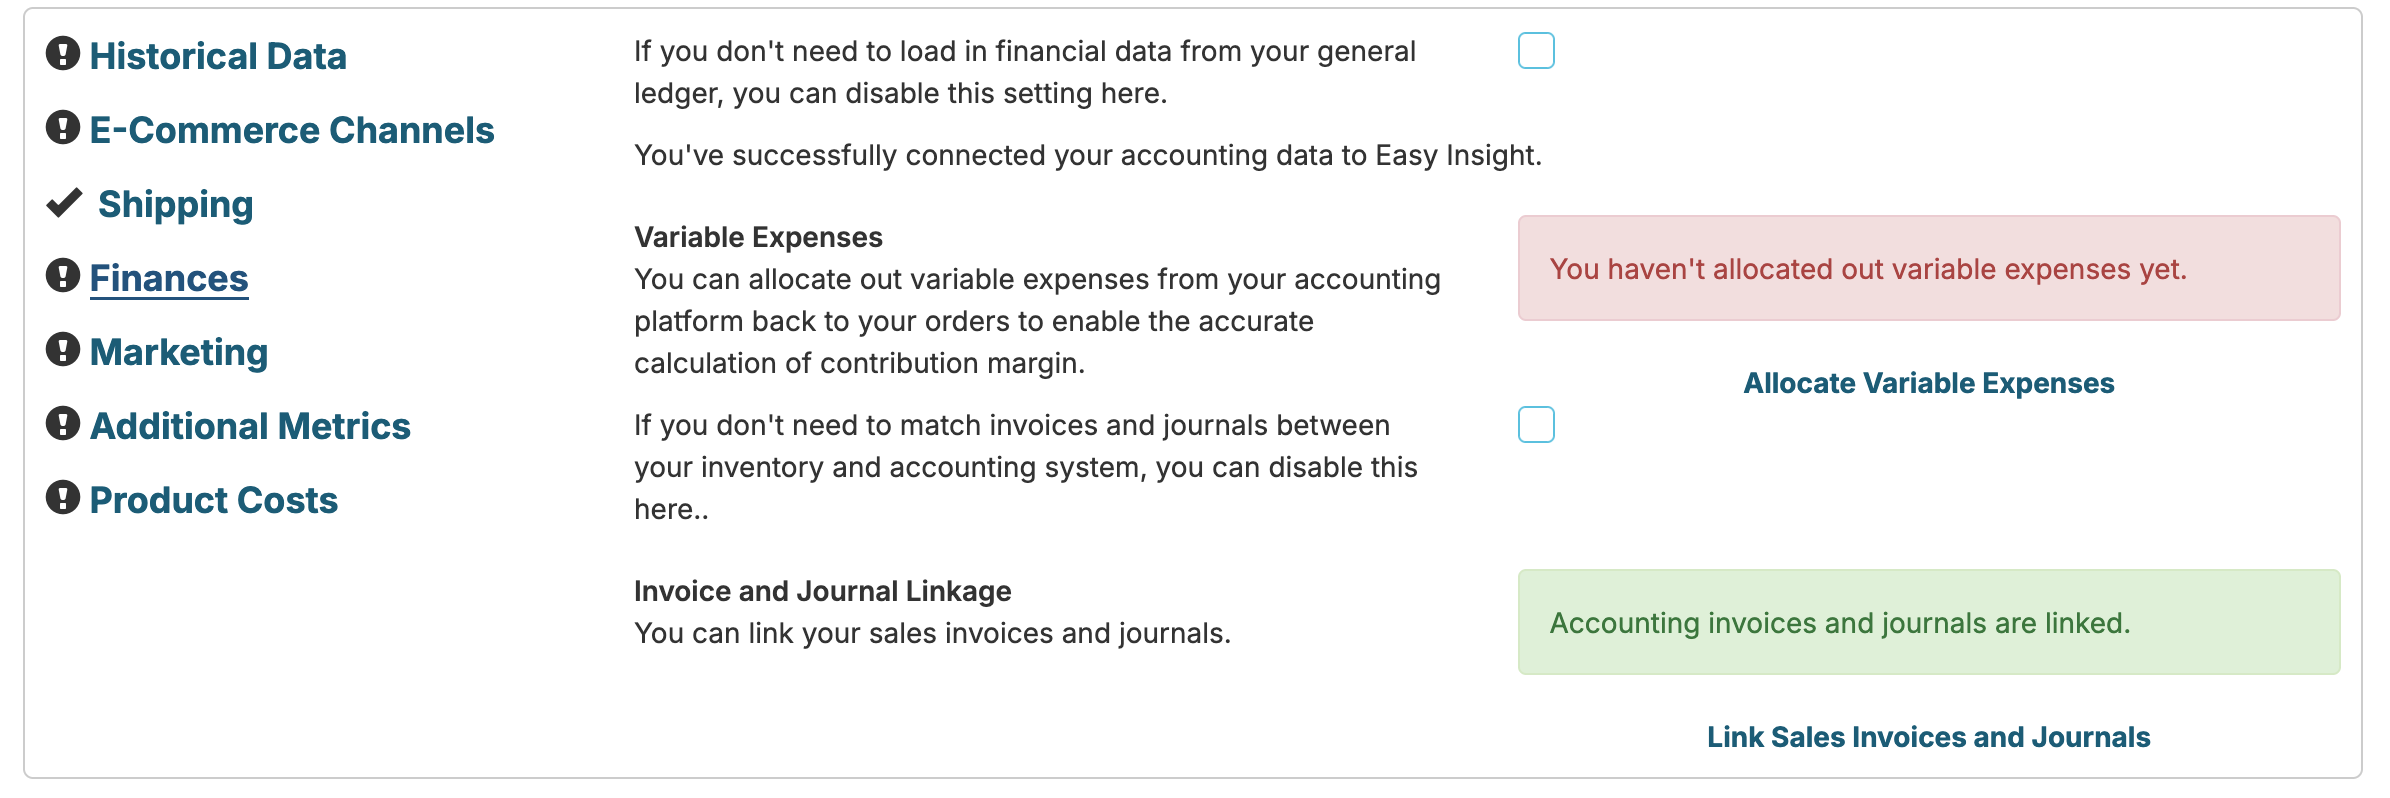
There are two main areas of accounting integration. First, your sales invoices are automatically linked from inventory to accounting to help with validation and pulling across any invoice specific fields for your reporting:
Next, you can choose to allocate variable expenses back to orders to help calculate contribution margin. From your inventory data source, click on the Inventory tab, then go to Allocate Accounting Costs:
From this screen, you can pull data from the profit and loss statement of your QuickBooks Online or Xero data. You'll see the different accounts with profit and loss values:
You can assign accounts as variable or fixed expenses. Only variable expenses are included in contribution margin.
You can also choose to only assign a particular account to a filtered set of orders. For example, you could assign fulfillment costs to only non-FBA orders.
These expenses are then available through the Allocations folder in your data source: