- Customer Login
- Free Trial
- Contact Us
- Product
- Connections
- Custom Reports
- Embedded Dashboards
- Data Transformation
- Data Level Security
- Inventory Forecasting
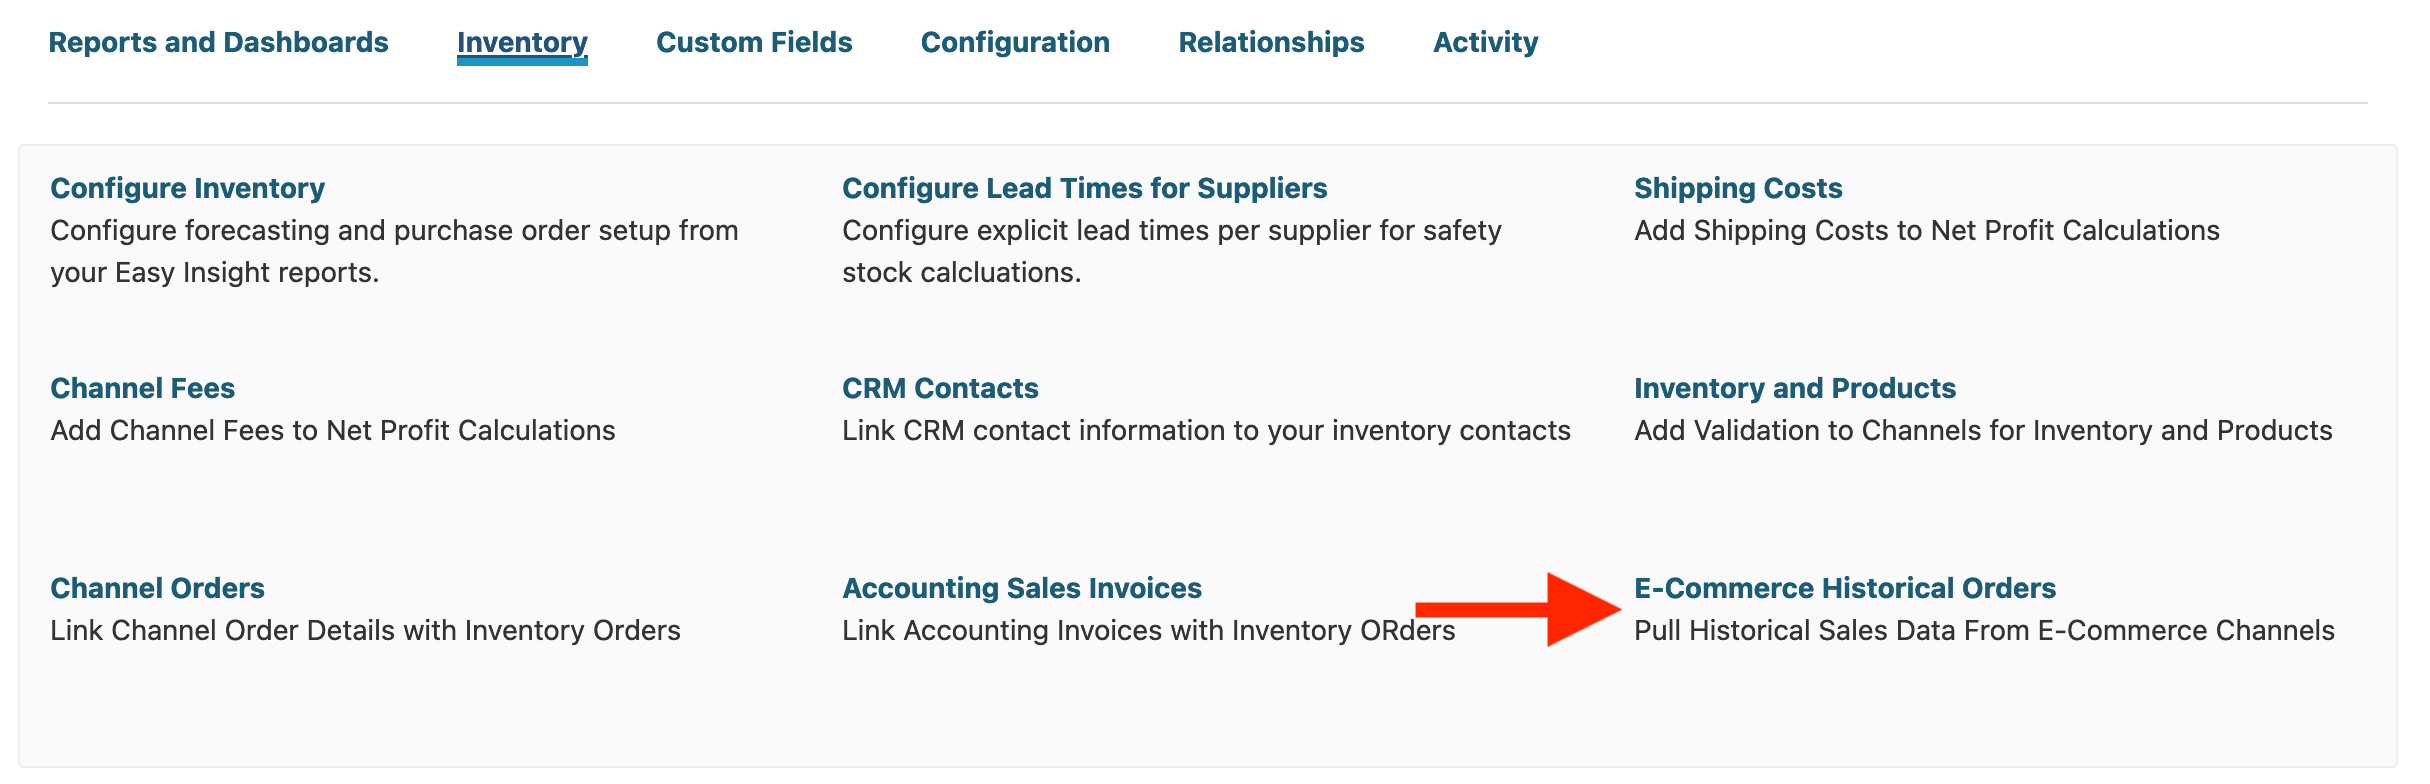
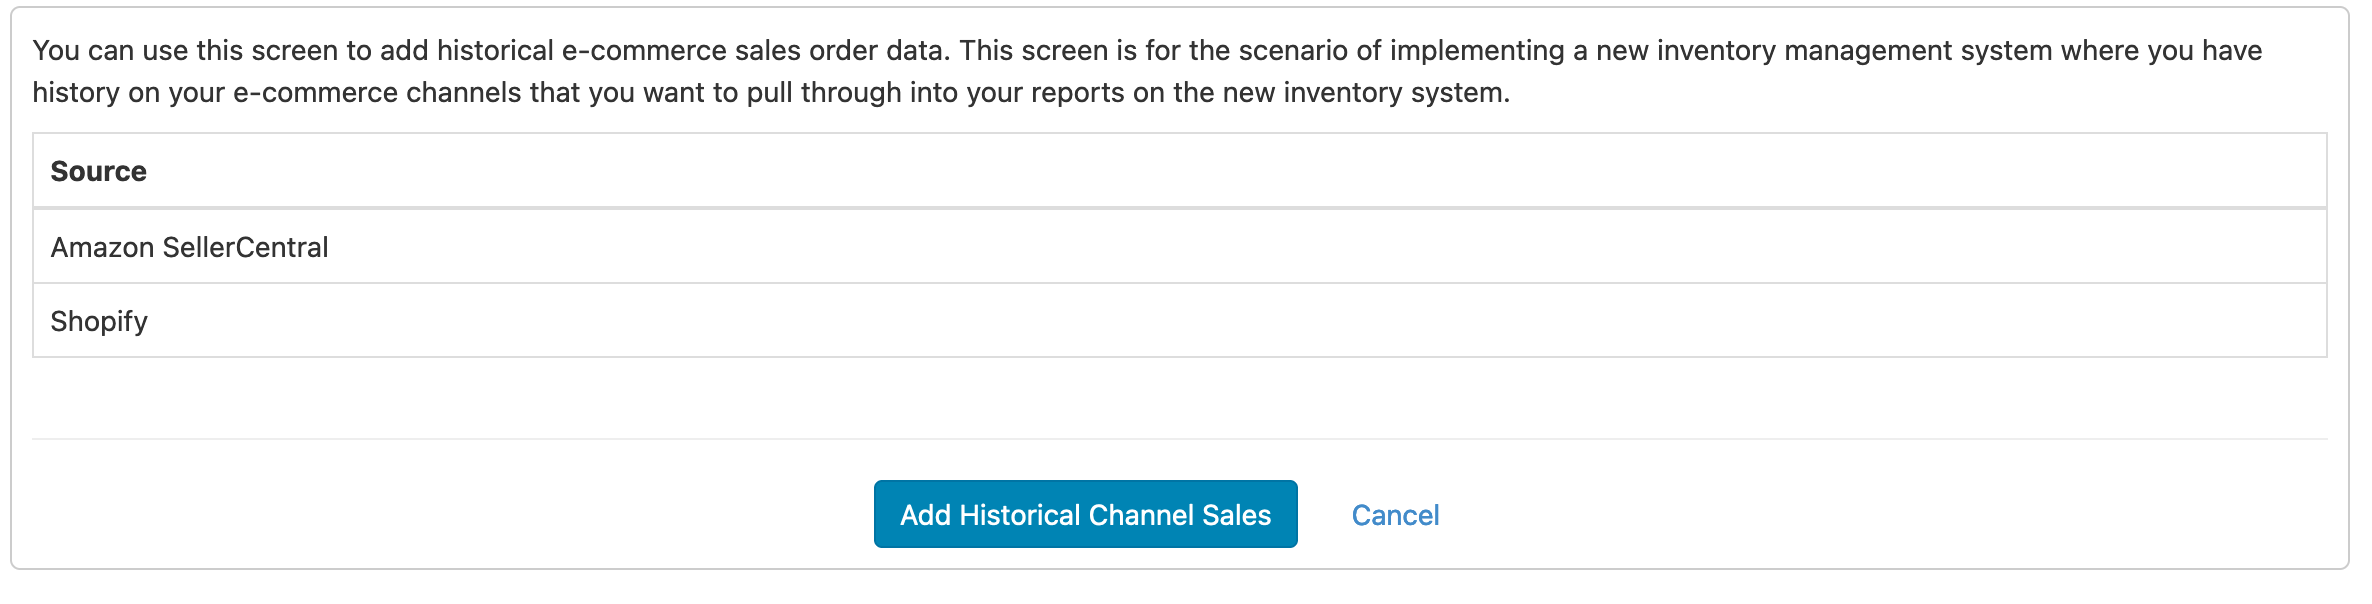
- Historical Data and Migrations
- Profit and COGS Analysis
- B2B Reporting
- B2C Reporting
- All Industries
- Apparel and Footware
- Creative Agencies
- Health and Wellness
- Manufacturers and E-Commerce
- Food and Beverage
- Finance and Accounting
- Pricing