You can customize the colors used on reports and dashboards through the Account Skin page, found under Account Settings.
As you modify this skin, you'll want to hit the Save button in the upper left to save your changes. If you need to undo a change, you can always click on 'Show Previous Versions' and pull back a previous revision of the skin.
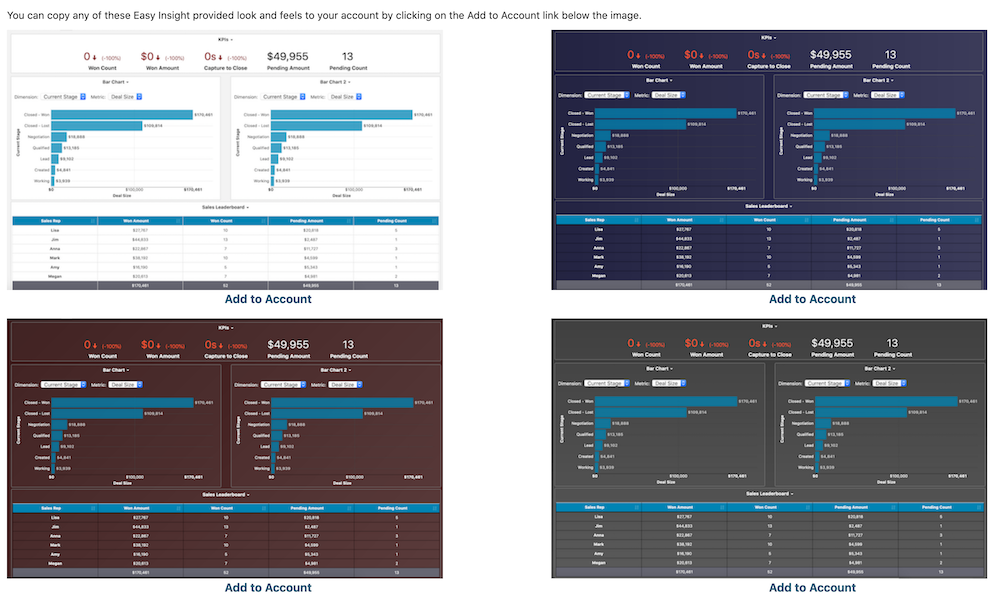
If you click on 'Browse Prebuilt Skins', a window will show you a variety of prebuilt skins provided by Easy Insight:
You can click on any of these skins to copy them into your account. Once copied, you can customize just like what you would with your own default skin normally.
Once you have multiple skins in your account, either by saving a copy or by copying a predefined skin, your skins page will show the multiple skins with one marked as primary. Your reports and dashboards will default to using this skin.
You can explicitly configure a dashboard to use an alternate skin so that you can test a new look and feel without disrupting your users, then change the primary skin over when you're ready. To configure a dashboard to use a specific skin, edit the dashboard, go to Configuration -> Dashboard Properties -> Dashboard Options.
The skin is divided into four sections--Header, Report Tables, Report Charts, and Dashboards. Header covers the report and dashboard header area and includes the ability to add a custom logo. Report Tables covers the customization of tabular reports like lists, trees, and crosstabs. Report Charts covers the styling of column, bar, line, and other charts. Dashboards covers the styling of dashboards and customization of report styles when shown on the dashboard.
Additional documentation for Report Tables and Report Charts is available at Report Styling and for Dashboards at Dashboard Styling.